WebUploader超大文件上传
![]() 相关资料:
相关资料:![]() 解决方案,
解决方案,![]() 白皮书,
白皮书,![]() 产品介绍,
产品介绍,![]() 产品比较,
产品比较,![]() 开发文档,
开发文档,![]() 成功案例,
成功案例,![]() 产品源代码,
产品源代码,![]() 授权码工具,
授权码工具,![]() 个人版价格,
个人版价格,![]() 企业版价格,
企业版价格,![]() 政企版价格,
政企版价格,![]() 年费版价格,
年费版价格,![]() OEM版价格,
OEM版价格,![]() 源码版价格,基础组件,
源码版价格,基础组件,![]() 示例下载,控件升级,
示例下载,控件升级,![]() 在线演示,
在线演示,![]() 在线文档,并发能力,上传速度,下载速度,
在线文档,并发能力,上传速度,下载速度,![]() Windows控件安装,
Windows控件安装,![]() macOS控件安装,
macOS控件安装,![]() deb控件安装,
deb控件安装,![]() rpm控件安装,安装引导,控件部署,控件升级,
rpm控件安装,安装引导,控件部署,控件升级,![]() IE9加载控件,
IE9加载控件,![]() IE8加载控件,
IE8加载控件,
![]() 示例下载:
示例下载:![]() asp.net-vs2013,
asp.net-vs2013,![]() asp.net-vs2010,
asp.net-vs2010,![]() jsp-eclipse,
jsp-eclipse,![]() jsp-springboot,
jsp-springboot,![]() jsp-myeclipse,
jsp-myeclipse,![]() php,
php,![]() vue-cil,
vue-cil,![]() ExtJs 6,
ExtJs 6,![]() WinForm(C#),
WinForm(C#),![]() C++(WTL),
C++(WTL),
![]() 教程:
教程:![]() WinForm(C#)测试,
WinForm(C#)测试,![]() WTL(C++)测试,
WTL(C++)测试,![]() 在vue.js中使用,
在vue.js中使用,![]() 在vue-cli中使用,
在vue-cli中使用,![]() eclipse导入up6,
eclipse导入up6,
![]() 源码编译:
源码编译:![]() ActiveX(x86),
ActiveX(x86),![]() ActiveX(x64),
ActiveX(x64),![]() Windows(npapi),
Windows(npapi),![]() NativeMessage,
NativeMessage,![]() macOS,
macOS,![]() Linux(海光,兆芯),
Linux(海光,兆芯),![]() arm(鲲鹏,飞腾),
arm(鲲鹏,飞腾),![]() mips(龙芯),
mips(龙芯),![]() LoongArch(龙芯),
LoongArch(龙芯),
![]() 视频教程:
视频教程:![]() php7测试,
php7测试,![]() php5测试,
php5测试,![]() vue-cli-测试,
vue-cli-测试,![]() asp.net-IIS Express测试,
asp.net-IIS Express测试,![]() asp.net-IIS测试,
asp.net-IIS测试,![]() asp.net-阿里云(oss)测试,
asp.net-阿里云(oss)测试,![]() asp.net-华为云(obs)测试,
asp.net-华为云(obs)测试,![]() jsp-springboot测试,sm4加密传输,压缩传输,
jsp-springboot测试,sm4加密传输,压缩传输,
![]() ASP.NET教程:asp.net,
ASP.NET教程:asp.net,![]() IIS Express,
IIS Express,![]() IIS,IIS-Https,
IIS,IIS-Https,![]() Oracle,
Oracle,![]() minio,fastdfs,
minio,fastdfs,![]() 阿里云对象存储(oss),
阿里云对象存储(oss),![]() 华为云对象存储(obs),
华为云对象存储(obs),
![]() jsp-eclipse教程:测试教程,
jsp-eclipse教程:测试教程,![]() oracle,
oracle,![]() mysql,
mysql,![]() SQL Server,
SQL Server,![]() minio,fastdfs,
minio,fastdfs,![]() 阿里云对象存储(oss),
阿里云对象存储(oss),![]() 华为云对象存储(obs),
华为云对象存储(obs),
![]() jsp-springboot教程:测试教程,minio,fastdfs,
jsp-springboot教程:测试教程,minio,fastdfs,![]() 阿里云对象存储(oss),
阿里云对象存储(oss),![]() 华为云对象存储(obs),
华为云对象存储(obs),
![]() jsp-myeclipse教程:
jsp-myeclipse教程:![]() mysql,
mysql,![]() oracle,
oracle,![]() SQL Server,fastdfs,
SQL Server,fastdfs,
![]() php教程:测试教程,
php教程:测试教程,![]() minio,fastdfs,
minio,fastdfs,![]() 阿里云对象存储(oss),
阿里云对象存储(oss),
![]() 二次开发:组件引用,自定义事件,自定义业务字段,自定义文件保存路径,授权码,加密存储,加密传输,使用Minio存储,使用FastDFS存储,
二次开发:组件引用,自定义事件,自定义业务字段,自定义文件保存路径,授权码,加密存储,加密传输,使用Minio存储,使用FastDFS存储,![]() 使用达梦数据库,数据表字段设计,监控fd_create流程,监控f_create流程,监控f_list.jsp流程,
使用达梦数据库,数据表字段设计,监控fd_create流程,监控f_create流程,监控f_list.jsp流程,
![]() 相关问题:WebSocket连接失败,md5计算完毕后卡住,域名未授权,网站安全系统拦截,
相关问题:WebSocket连接失败,md5计算完毕后卡住,域名未授权,网站安全系统拦截,
![]() 联系我们:
联系我们:![]() QQ:1269085759(技术),
QQ:1269085759(技术),![]() QQ:3040217208(售后),
QQ:3040217208(售后),![]() QQ:1085617561(商务),
QQ:1085617561(商务),![]() 微信:13235643658,
微信:13235643658,![]() 邮箱:1269085759@qq.com,
邮箱:1269085759@qq.com,![]() 1085617561@qq.com,
1085617561@qq.com,![]() qwl@ncmem.com,
qwl@ncmem.com,


视频教程:https://www.bilibili.com/video/BV1jm4y127Ut/?vd_source=d1843c7f8c164416779b5188178bad8c
环境:vue2-cli
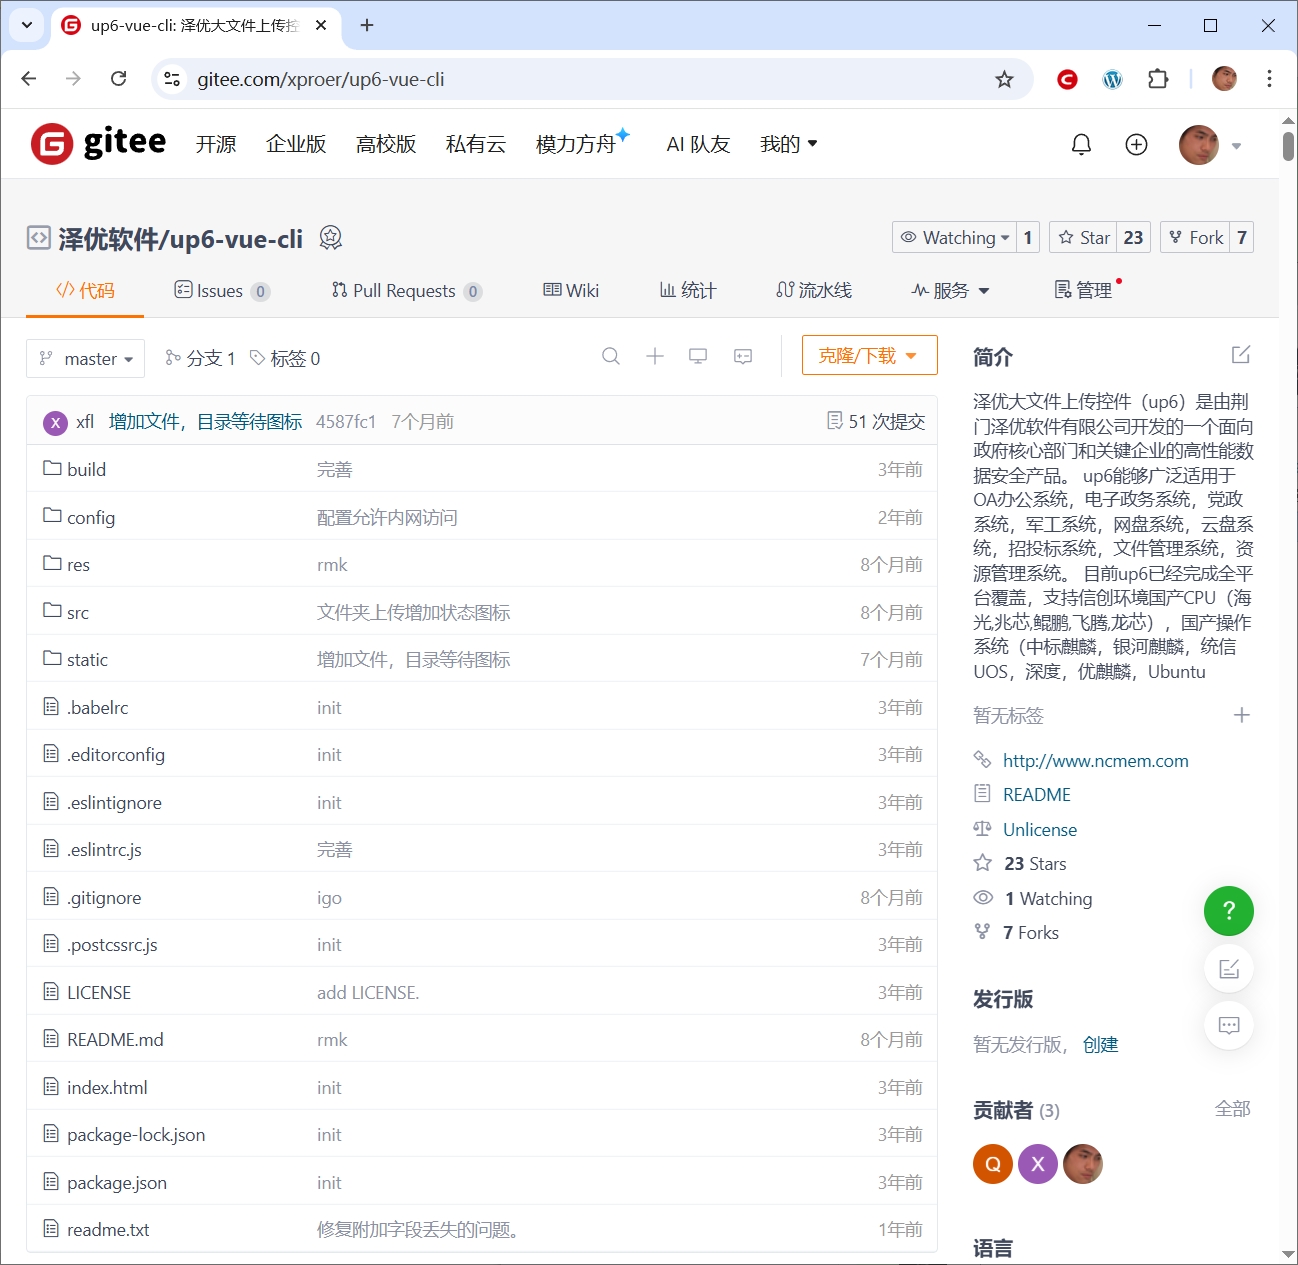
示例:https://gitee.com/xproer/up6-vue-cli
1.下载示例
将up6组件复制到项目中
示例中已经包含此目录
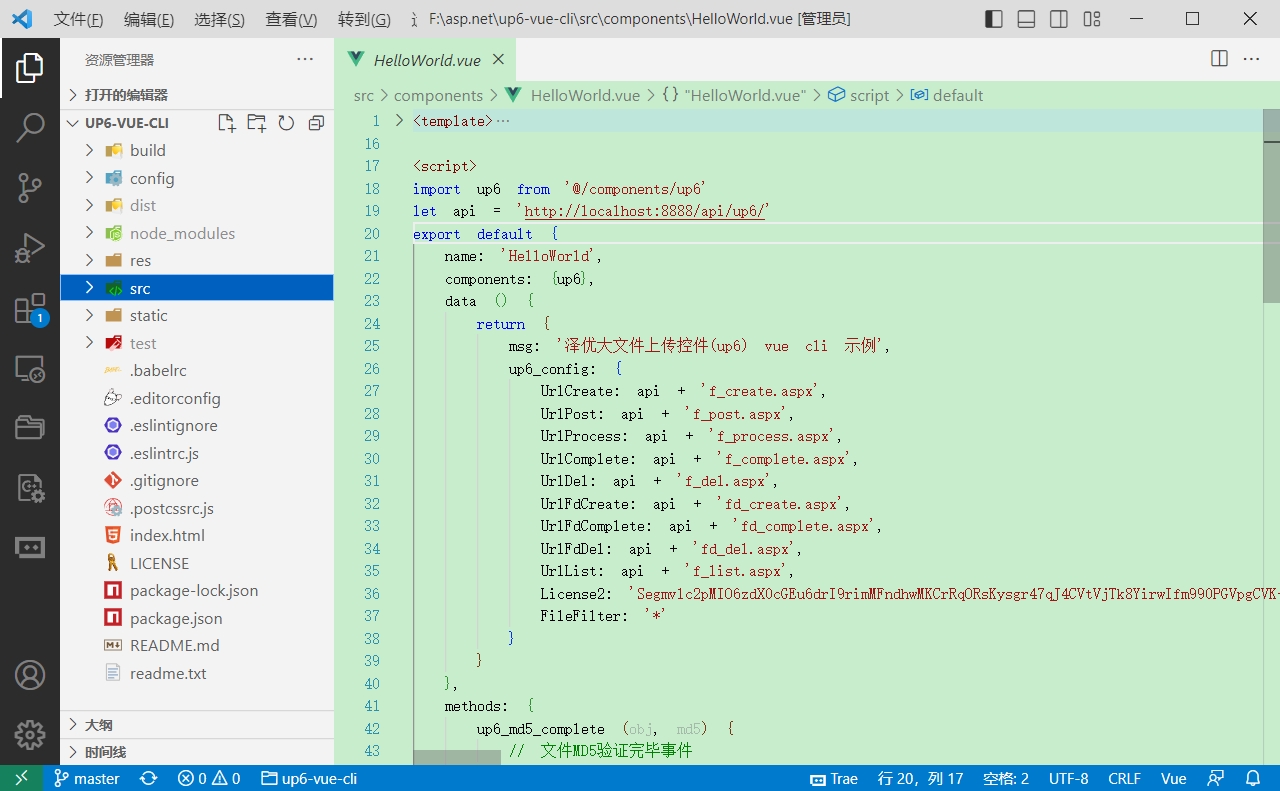
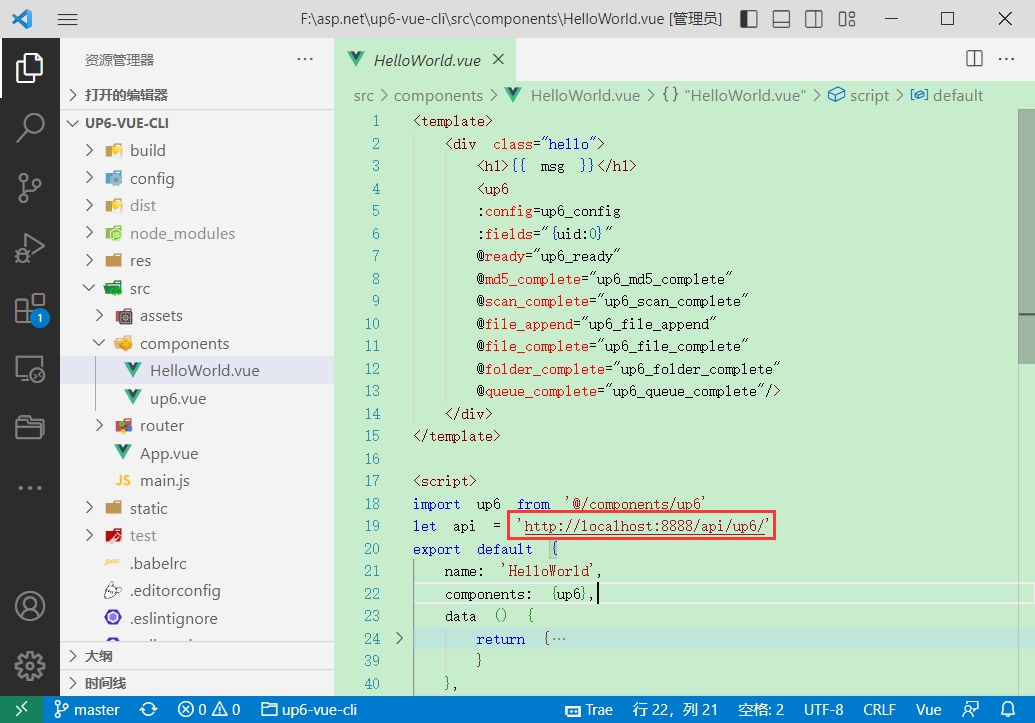
1.引入up6组件
2.配置接口地址
接口地址分别对应:文件初始化,文件数据上传,文件进度,文件上传完毕,文件删除,文件夹初始化,文件夹删除,文件列表
参考:http://www.ncmem.com/doc/view.aspx?id=e1f49f3e1d4742e19135e00bd41fa3de
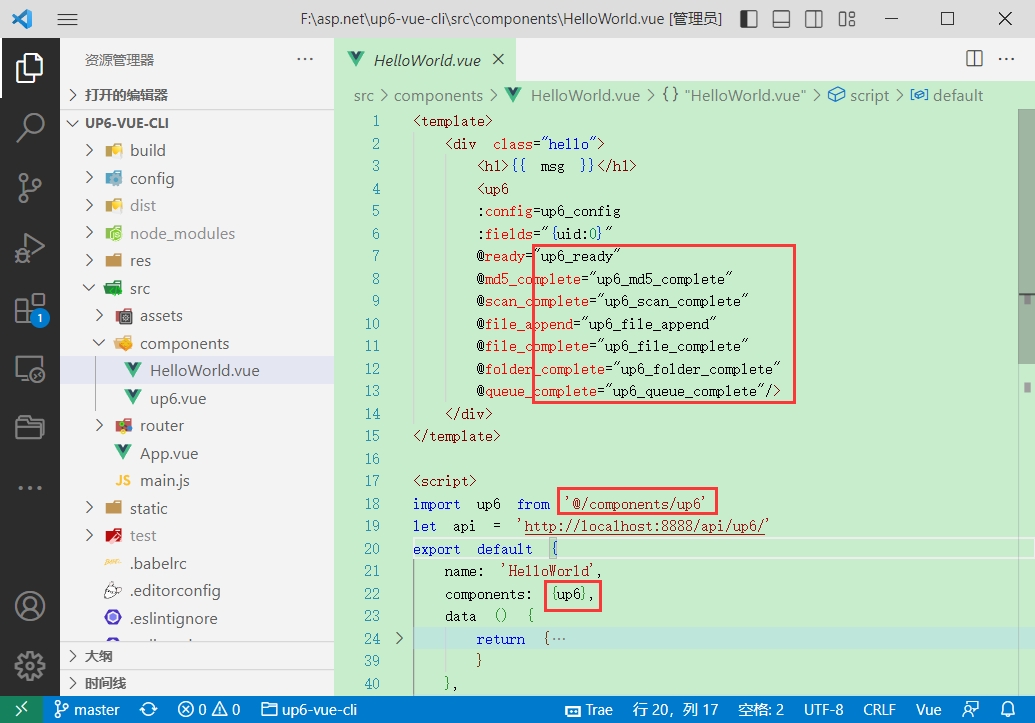
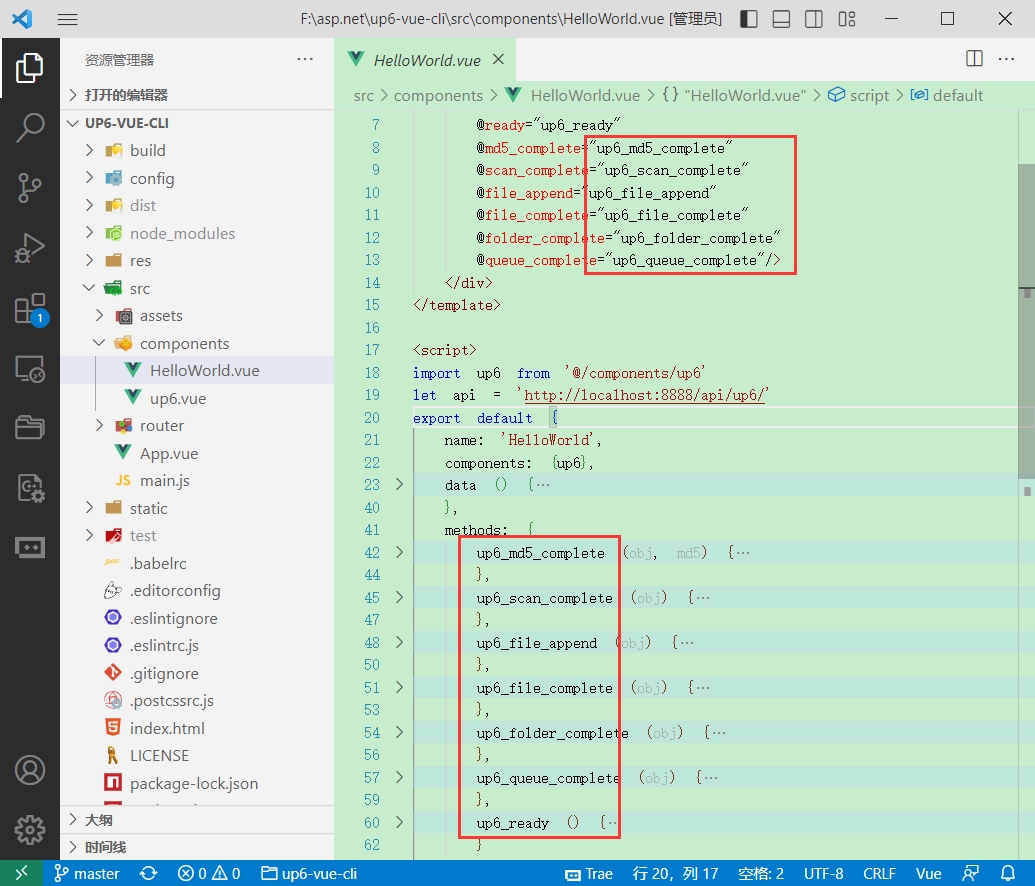
3.处理事件
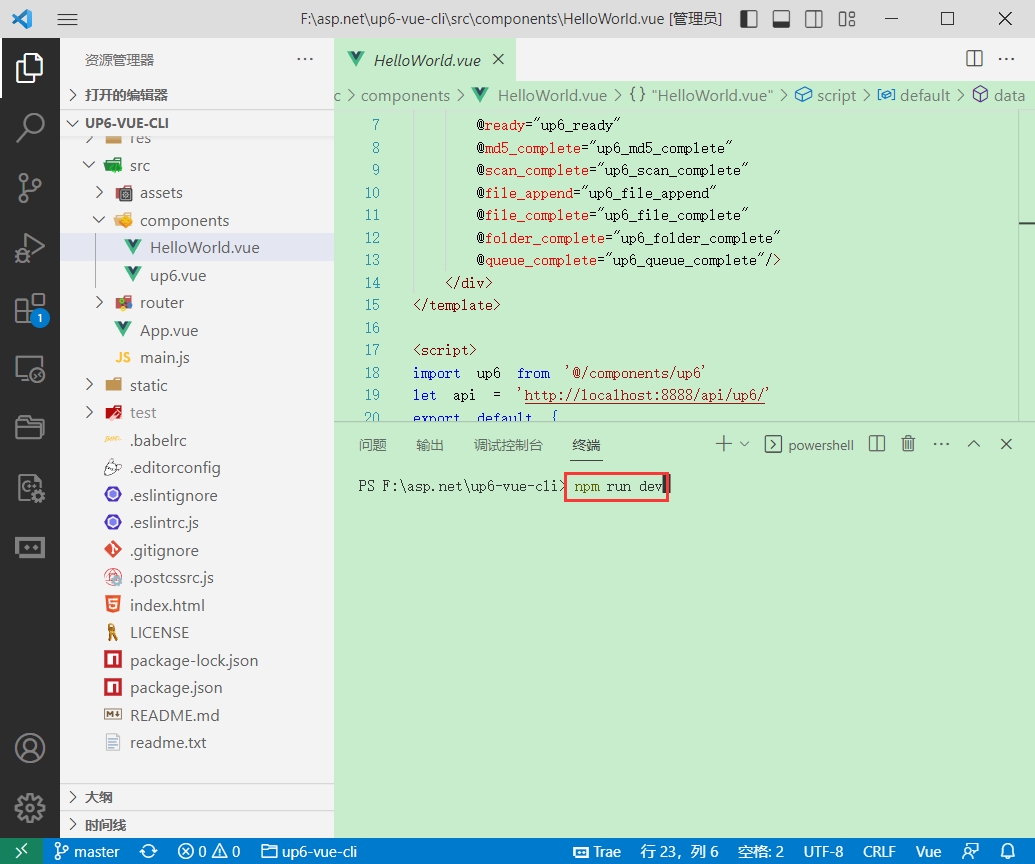
启动测试
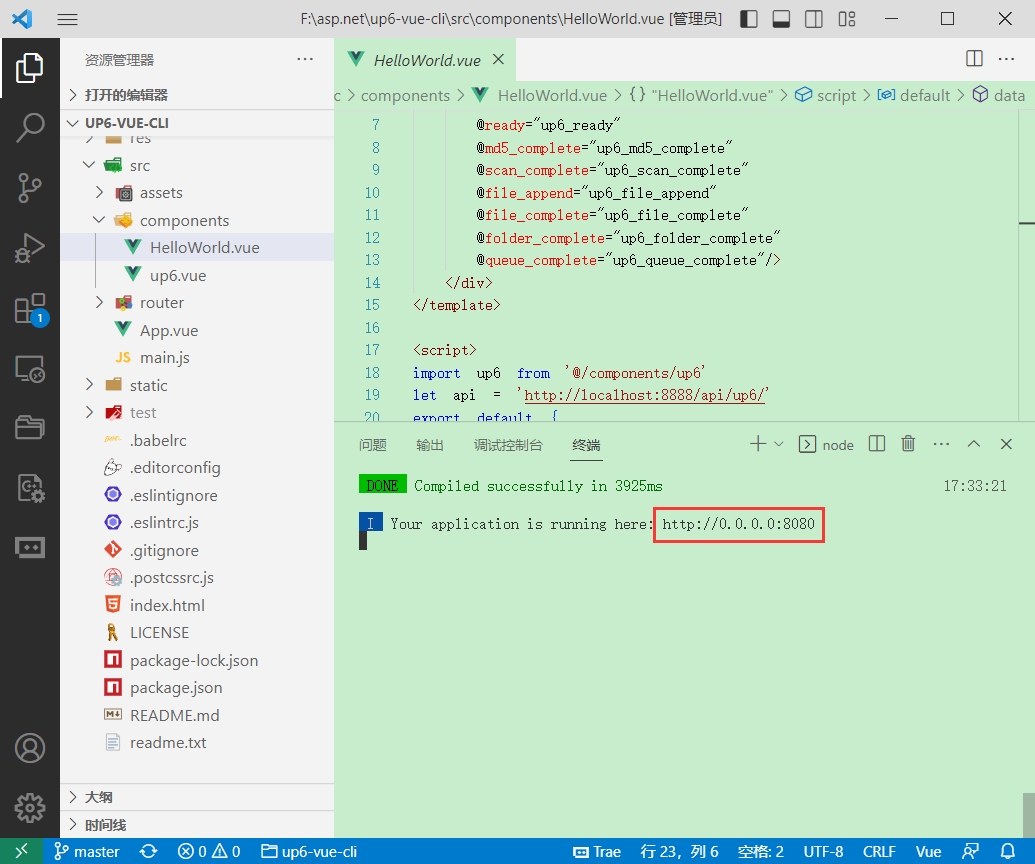
启动成功
访问测试页面
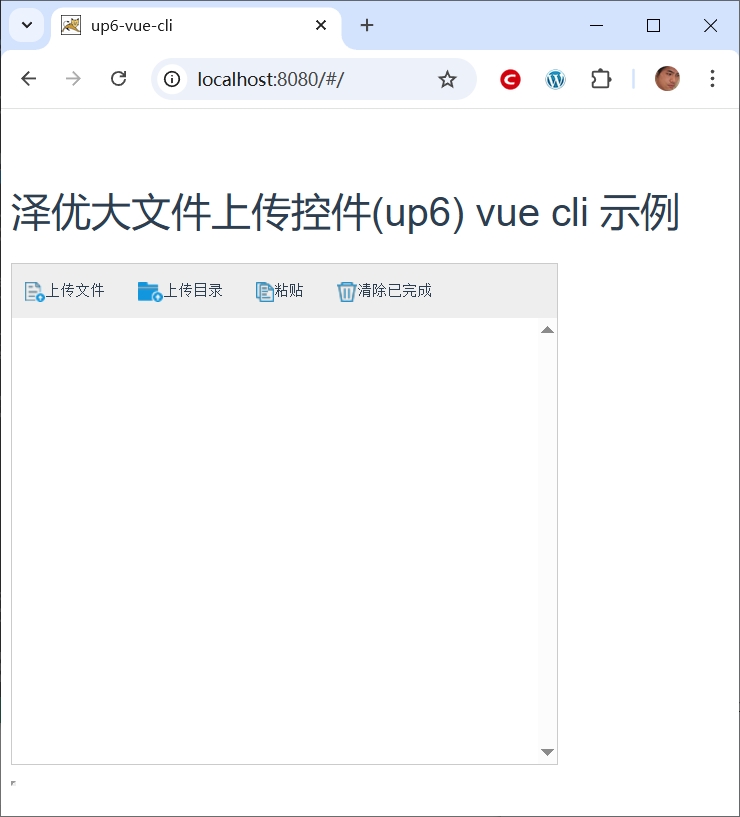
效果

数据库

下载产品源代码-泽优全平台开源大文件上传控件(up6)
免费下载源代码:https://drive.weixin.qq.com/s?k=ACoAYgezAAwbdKCskc
免费下载授权器:https://drive.weixin.qq.com/s?k=ACoAYgezAAw0P06owX

由原厂产品开发团队提供7*24小时1对1专业技术支持服务